Pin
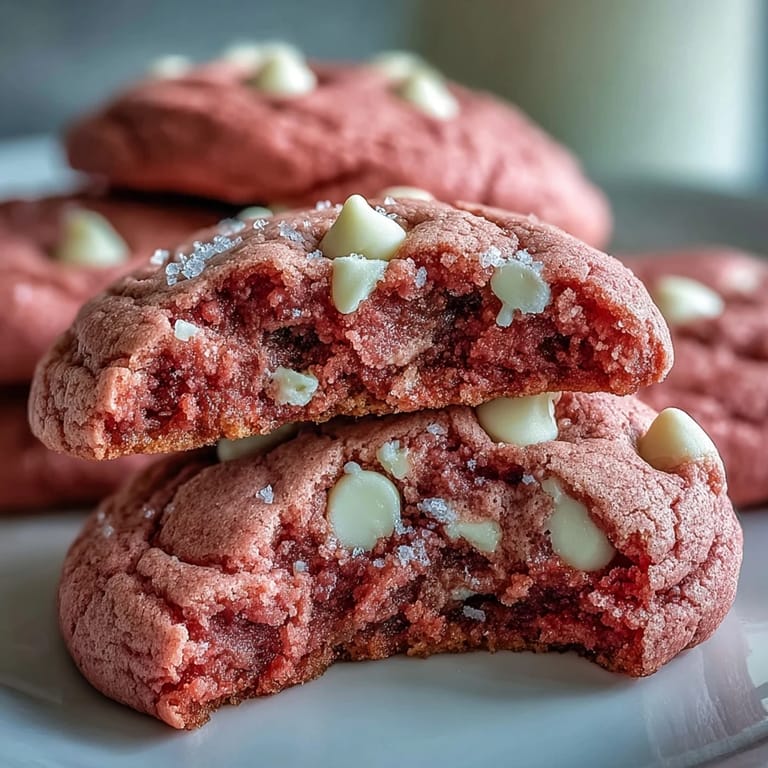
Pin The first time I made pink velvet cookies, it was actually a complete accident. I'd meant to make classic red velvet but grabbed the wrong gel color from my sister's baking stash. When the dough came out this soft, ballet pink instead of dramatic crimson, I almost started over. But then I baked a test batch and something magical happened. The pink felt whimsical and light, like edible confetti, and the white chocolate chips looked like little snowflakes against the rosy dough.
Last Valentine's Day, I made three batches of these for my daughter's classroom party. I was running late and the pink food coloring wasn't distributing evenly, leaving marbled streaks through the dough. The teacher actually texted me later asking how I achieved that artistic effect. Sometimes my kitchen disasters turn into my greatest triumphs.
Ingredients
- All purpose flour: The structure builder, measure by weight if possible for consistently tender results
- Baking powder and soda: This double combination gives the cookies their perfect puff and slight spread
- Unsalted butter: Softened to room temperature so it creams beautifully into the sugar for that melt in your mouth texture
- Granulated sugar: Creates those crispy edges while keeping centers soft and chewy
- Pink gel food coloring: Gel gives you vibrant color without adding liquid like traditional drops can
- White chocolate chips: The creamy contrast that makes these cookies absolutely irresistible
Tired of Takeout? 🥡
Get 10 meals you can make faster than delivery arrives. Seriously.
One email. No spam. Unsubscribe anytime.
Instructions
- Whisk the dry foundation:
- Combine the flour, baking powder, baking soda, and salt in a medium bowl. This ensures everything is evenly distributed before it meets the wet ingredients.
- Cream butter and sugar:
- Beat the softened butter and sugar together until the mixture looks pale and fluffy. This creates tiny air pockets that make cookies tender.
- Add eggs and vanilla:
- Mix in the egg and vanilla until fully incorporated. The dough should look smooth and glossy at this stage.
- Create the pink magic:
- Add the pink gel food coloring and mix until you reach your desired shade. Remember, the color will deepen slightly during baking.
- Combine everything:
- Gradually add the dry ingredients on low speed, mixing just until you no longer see streaks of flour. Overmixing makes tough cookies.
- Fold in the white chocolate:
- Gently incorporate the white chocolate chips by hand. This prevents them from breaking and distributes them evenly throughout.
- Chill the dough:
- Refrigerate for 30 minutes. This step is crucial for thick, chewy cookies that hold their shape beautifully in the oven.
- Prep your baking space:
- Preheat the oven to 350 degrees and line baking sheets with parchment paper for easy cleanup and perfectly browned bottoms.
- Scoop and space:
- Drop tablespoon sized dough balls onto the sheets, leaving two inches between each one. They need room to spread without merging into each other.
- Bake to perfection:
- Bake for 10 to 12 minutes until edges are set but centers still look slightly soft. They will continue cooking on the hot baking sheet.
- Cool completely:
- Let them rest on the baking sheets for five minutes before transferring to a wire rack. This patience rewards you with perfectly set cookies.
 Pin
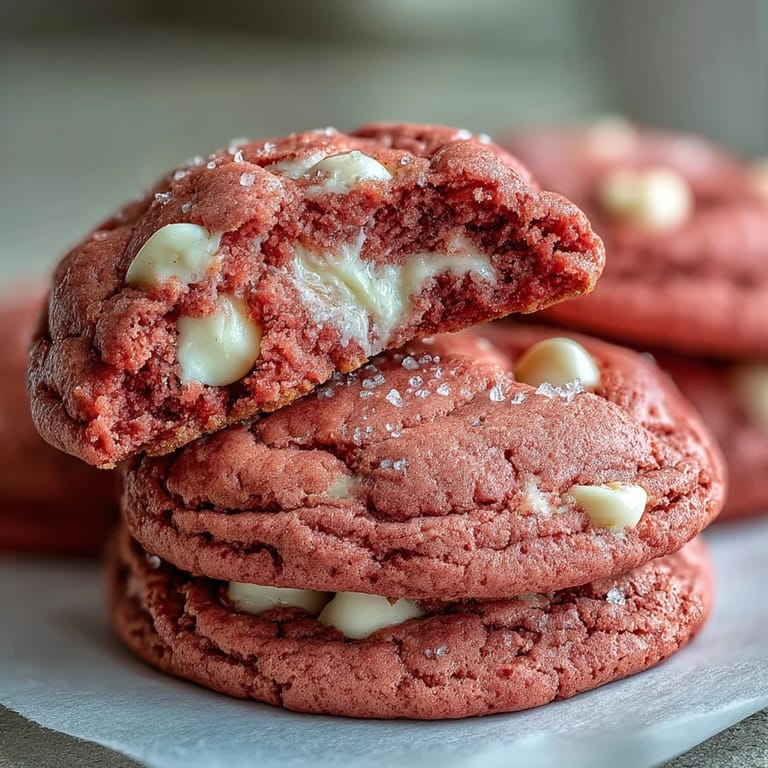
Pin These pink velvet cookies have become my go to contribution for baby showers and birthday parties. There is something so joyful about a platter of bright pink cookies that instantly puts everyone in a celebrating mood. Last month I made them for my niece who had just gotten braces, and she said they were worth every tender bite.
Getting the Perfect Pink
I have learned that the shade of pink you achieve depends heavily on the brand of gel coloring you use. Start with less than you think you need, because you can always add more. Deep pink dough will bake into an almost magenta cookie, while a soft rose creates the most delicate pastel shade. The color will intensify slightly in the oven, so aim for one shade lighter than your goal.
White Chocolate Wisdom
Not all white chocolate chips are created equal. Some brands use more palm oil than actual cocoa butter, which affects both flavor and melting quality. I have found that chopping a good quality white chocolate bar creates those gorgeous puddles and pools throughout the cookie, but chips distribute more evenly. Choose based on the presentation you are going for.
Make Ahead Magic
These cookies actually develop deeper flavor after resting in the refrigerator for 24 hours. The flour fully hydrates and the pink color settles into a more consistent hue throughout. You can scoop the dough balls, freeze them on a baking sheet, then transfer to a storage bag for fresh baked cookies anytime.
- Freeze dough balls for up to three months and bake straight from frozen, adding two minutes to the baking time
- The dough can stay refrigerated for three days before baking, just let it sit at room temperature for ten minutes before scooping
- Already baked cookies freeze beautifully if layered between parchment paper in an airtight container
 Pin
Pin These pink velvet cookies have a way of turning ordinary days into something worth celebrating. May your kitchen be filled with the scent of warm vanilla and the joy of sharing something beautiful.
Recipe FAQ
- → What gives these bakes their vibrant pink color?
The signature vibrant pink hue comes from pink gel food coloring, which is incorporated into the wet ingredients. You can adjust the amount to achieve your desired shade, from a delicate pastel to a deeper, more striking pink, without affecting the texture.
- → Can I use different types of chocolate chips?
Absolutely! While white chocolate chips beautifully complement the flavor and color, feel free to substitute with milk, dark, or even semi-sweet chocolate chips based on your preference. Mini chocolate chips also work well for a more subtle distribution.
- → How should these treats be stored to maintain freshness?
For optimal freshness, store your baked delights in an airtight container at room temperature. They will remain soft and delicious for up to one week, perfect for enjoying throughout the week or sharing.
- → Are there any variations to enhance the flavor?
Yes, to elevate the flavor profile, consider adding half a teaspoon of almond extract along with the vanilla. A few drops of rose water can also impart a subtle, elegant floral note, perfectly complementing the pink aesthetic and making them extra special.
- → Can I make these gluten-free?
Yes, you can substitute the all-purpose flour with a 1:1 gluten-free flour blend designed for baking. Ensure your chosen blend contains xanthan gum for proper structure, or add a quarter teaspoon if it doesn't, to achieve a similar chewy texture.
- → What is the purpose of chilling the dough?
Chilling the dough for at least 30 minutes helps solidify the butter, which prevents the cookies from spreading too much during baking. This results in thicker, chewier cookies that maintain their shape beautifully.